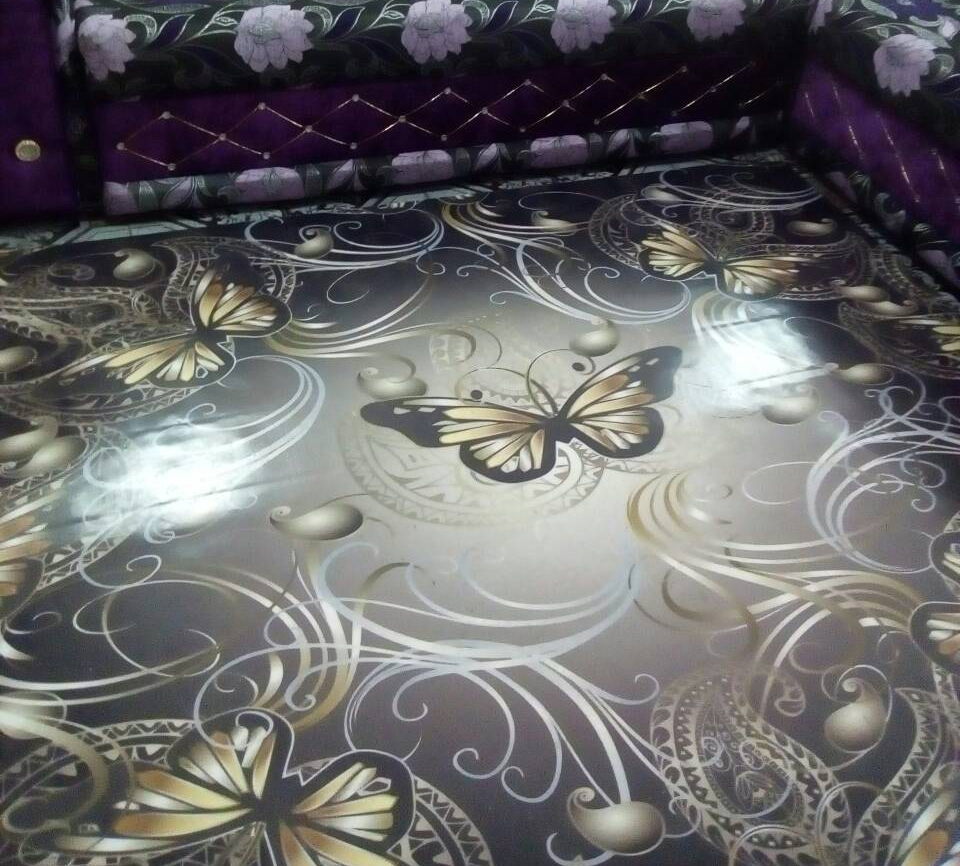
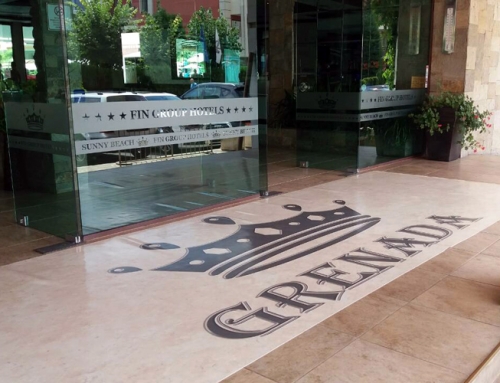
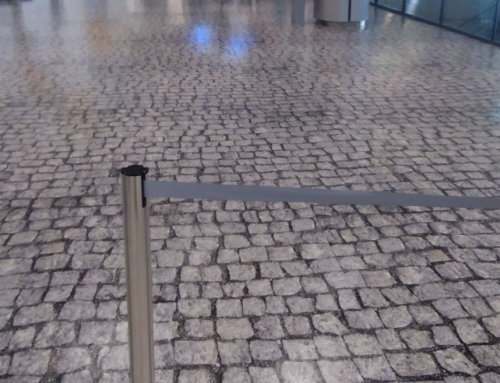
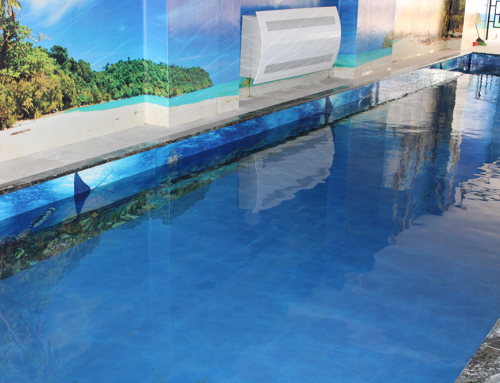
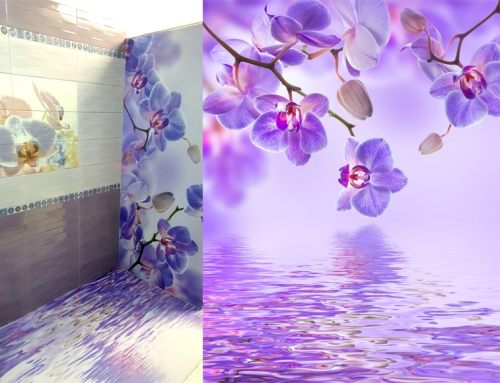
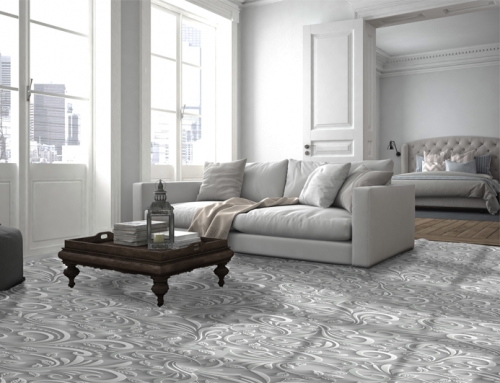
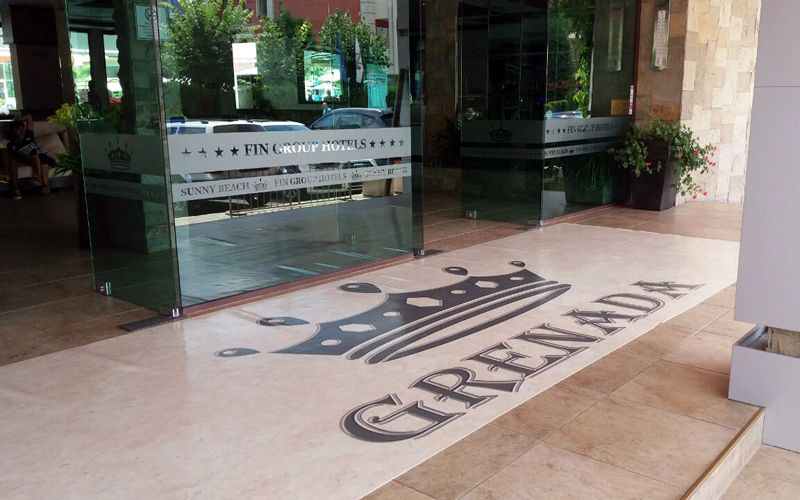
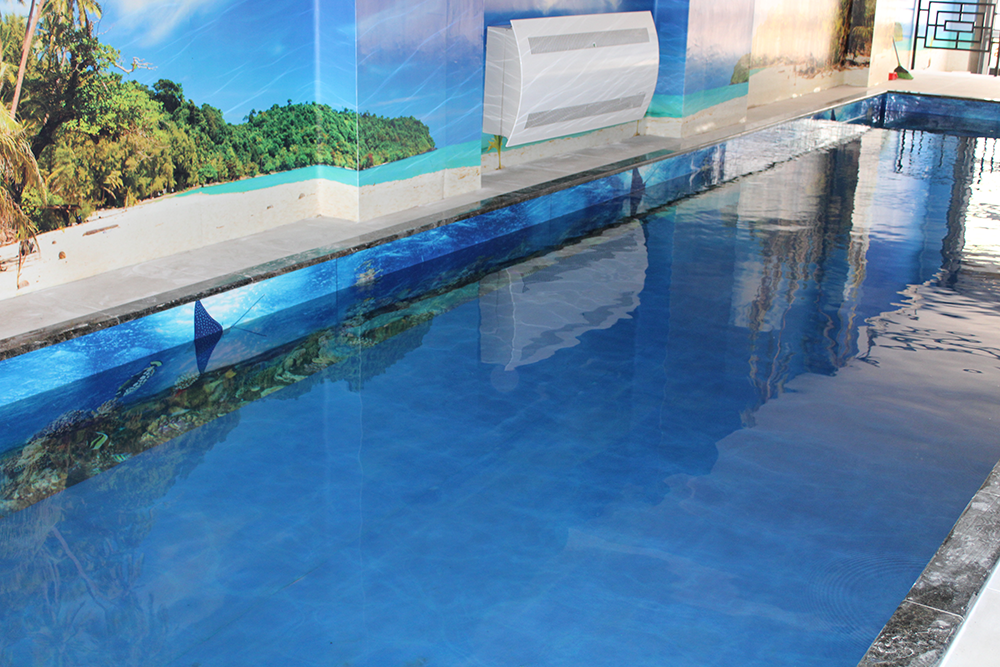
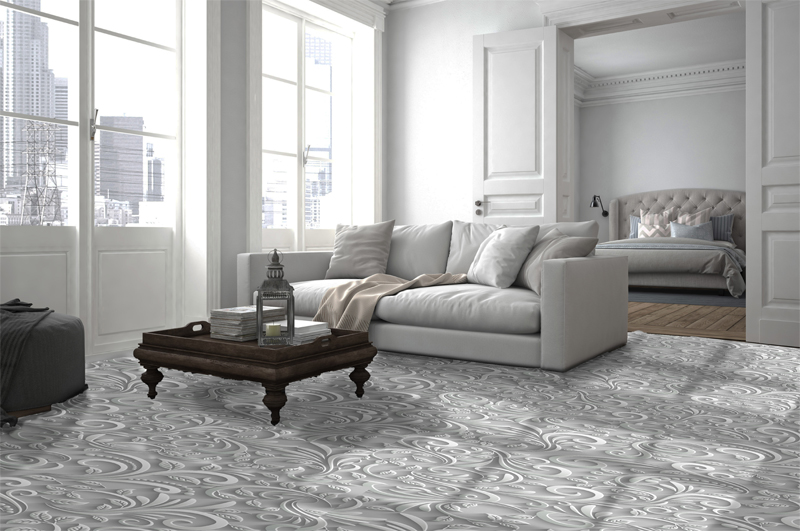
As we have already described, the vinyl flooring is a relatively new cover. In the previous article, we explained the specifics of working with this flooring, on which surfaces it can’t be applied, as well as the steps in treating the floor before laying the flooring. In this article, we will look at the technology of its application as well as the final touches of the vinyl floor. Ruvitex 3D Décor also offers an incredible variety of colors and decors, as well as incredible professionals who will give you some light on how to properly install vinyl flooring.
INSTALLATION TECHNOLOGY ON VINYL FLOORING
How to install vinyl sheets yourself? After the floor is well cleaned, a contact primer is applied. Vinyl sheets are 2 meters wide. First, we prepare them by sizing, depending on the area on which we will glue them. Water-based adhesive is then applied. With arcuate movements the adhesive is distributed evenly and without accumulation. The adhesive is applied in parts, depending on how large the sheets are. Technological time is waiting for the adhesive to interact with the air. When it stops touching, it goes on to vinyl sheets. The individual sheets of flooring are glued tightly to each other. They are pressed firmly against the base and with the help of a plastic putty, the air that is left between the concrete and the vinyl floor is pushed out. In order to prevent water from penetrating between the sheets, the so-called cold welding of all gaps. With a special needle, glue is inserted along the entire joint. The adhesive provides reliable protection against water penetration through the gap.
So your new vinyl floor is finished and ready for long-lasting use. However, we advise that you seek professional advice or trust those to install your new floor to ensure the quality and strength of application. The easy and quick installation of Ruvitex 3D Decor is another advantage that is worth it!


Recent Comments